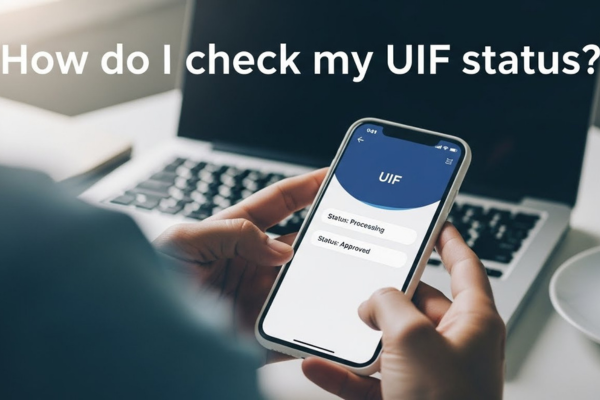
What Happens After UIF Is Approved? Understanding the Payout Timeline
An “Approved” UIF status confirms that your claim has been accepted.
Choose one option to continue:
🏦 Best Bank For UIF Payouts 💰 Calculate Your UIF Payout 📞 Call For UIF Status CheckAt this stage, your responsibility shifts from submitting information to ensuring that nothing prevents payment from being released correctly.
Most issues that occur after approval are not system failures, but oversights in personal, banking, or employer information. The steps below outline exactly what you should do once your claim is approved.
Step 1: Verify Your Banking Details
The first and most important action after approval is to confirm that your banking details are accurate and fully validated on the system.
Check that:
- The bank account is registered in your own name
- The account number and bank code are correct
- The account status reflects as verified
If you recently changed your bank account, ensure that the updated details were successfully submitted and confirmed.
Step 2: Review Your Payment History
Do not rely solely on the main claim status.
Log into uFiling and navigate to the Payment History section. This area shows whether a payment record has already been generated for your approved claim.
The appearance of a payment reference or amount confirms that the system has processed the payment internally.
Step 3: Confirm Your Personal Information
After approval, even minor discrepancies can interrupt the payment process. Carefully review:
- Your identification number
- Your full legal name
- Your contact details
Your personal details must match your banking information exactly. Any mismatch may cause the payment to be blocked without an immediate notification.
Step 4: Confirm Employer Submissions
Although your claim is approved, the system still relies on accurate employer records.
Ensure that:
- The UI-19 form was submitted correctly
- Monthly employer declarations are complete
- There are no missing employment periods
If necessary, contact your former employer to confirm that all required information was submitted.
Step 5: Organize and Retain Supporting Documents
Maintain a secure digital or physical file containing:
- Proof of approval
- A copy of the UI-19 form
- Proof of banking details
- Any official correspondence
These documents are essential if clarification or correction is required later.
Step 6: Monitor the Process Strategically
After approval:
- Check the portal periodically, not continuously
- Focus only on relevant sections such as Status and Payment History
- Take action only if incorrect or missing information is identified
Structured monitoring is more effective than repeated checks without a clear purpose.
Conclusion
An “Approved” status confirms your entitlement to UIF benefits. From this point forward, your role is to ensure accuracy, consistency, and completeness across all information linked to your claim.
Claimants who verify their details, maintain proper documentation, and monitor the system with intention significantly reduce the risk of post-approval complications.
Approval is the authorization. Proper verification ensures execution.